Recently, I had to integrate access logs from BlueCoat’s SG series webproxy into Splunk. The basic approach is quite simple, create a new Log in the SG’s Admin GUI, assign a log format to it and select “Custom Client” as upload client. On Splunk side, create a TCP input and route the data to the index of your choice:
/opt/splunk/etc/apps/bluecoat-sg/default/inputs.conf:
[tcp://1514]
index = bluecoat-sg
sourcetype = bluecoat-sg-accesslog
If you don’t use continous upload, you might want as well strip away the header that comes with the logs.
/opt/splunk/etc/apps/bluecoat-sg/default/props.conf:
[source::tcp:1514]
SEDCMD-bc1 = s/(?mis)^\#Software:.*$//g
SEDCMD-bc2 = s/(?mis)^\#Version:.*$//g
Ok, so far so good. BlueCoat also offers the possibility, to transfer the logs secured with SSL.
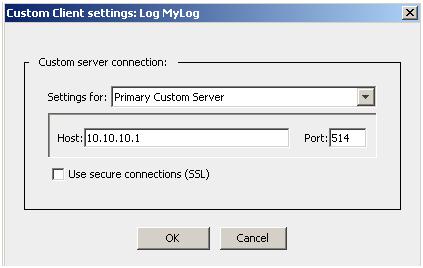
Here’s where the problem starts: Unfortunately, BlueCoats SGOS has a bug that doesn’t let you enter a hostname as “Custom Client” target, instead it only accepts IP addresses. Now, if your Splunk system has a TCP-SSL input and the certificate it uses doesn’t have an alternative DN set to the IP address of itself, SSL logtransfer won’t work for you. BlueCoat requires the DN of the certificate to match the value entered in the “Host” field of the “Custom Client”, otherwise it doesn’t send the logs. The only workaround until now is to re-issue the certificate with an alternative DN set to the Splunk systems IP address:
X509v3 Subject Alternative Name:
DNS:mysplunkidx.intern.local, DNS:10.0.0.110
Strangely, BlueCoat’s support didn’t know of that issue yet, so we filed a bug for this.
Links:
https://kb.bluecoat.com/index?page=content&id=KB4294&actp=RSS
If you want to build slick dashboards and reports using your Blue Coat ProxySG logs, take a look at Blue Shark:
https://splunkbase.splunk.com/app/2861/